
Welcome back to another Animal Crossing blog post! Check out my previous Animal Crossing post here. There are tons of Animal Crossing crochet patterns out there (check out my previous AC pattern) but I wanted to make something that hadn’t been made before so I decided to crochet the famous Animal Crossing item bag.
I’ll really satisfied with how it came out. Whenever I’m able to crochet something that looks exactly like what I was trying to crochet I feel really proud of myself! Like, I can’t believe I was able to crochet a paper bag! Haha
If you don’t crochet and would like your own Animal Crossing item bag (or would like to support me) you can order this Animal Crossing starter set I just posted in my shop. If you crochet this project, you can post it on Ravelry or tag me @mooeyscrochet so that I can see your creation. If you want to learn how to crochet, watch my crochet how-to video here. If you would like to support me for making this crochet pattern available for free, you can buy me a Ko-fi. Check out all of my free crochet patterns here and my shop to see my original crocheted items.
*DISCLAIMER: Links included in this post might be affiliate links. If you make a purchase with the links I provide, I may receive a small commission at no additional charge to you.
Supplies
– H/5.00 mm crochet hook (my favorite hook)
– Tan worsted weight yarn
– Brown felt
– Slanted tapestry needle (I use these)
– Glue (this is my favorite no-sew glue)
– Scissors
Aberrations
ch(s) – chains
st(s) – stitch(es)
slst – slip stitch (same as join)
sc – single crochet
hdc – half double crochet
dc – double crochet
flo – front loop only
blo – back loop only
cc – color change
dec – decrease (same as sc2tog) (single two st together)
inc – increase (make 2sc in a single st)
(x_) – repeat (_) amount of times
[x_] – repeat everything inside the [_] times amount of times
Crochet Level
Beginner
Pattern Notes
The pattern is written in US terms
If you have any problems with this pattern feel free to contact me so that I can make corrections to the pattern.
Bottom
With H hook and tan yarn
Row 1: ch 13, sc starting from 2nd st from hook, sc 12 sts. Total = 12 sts
Rows 2-9: ch 1, sc 12 sts. Total = 12 sts
Cut off and leave long ends for sewing
Front/back (make 2)
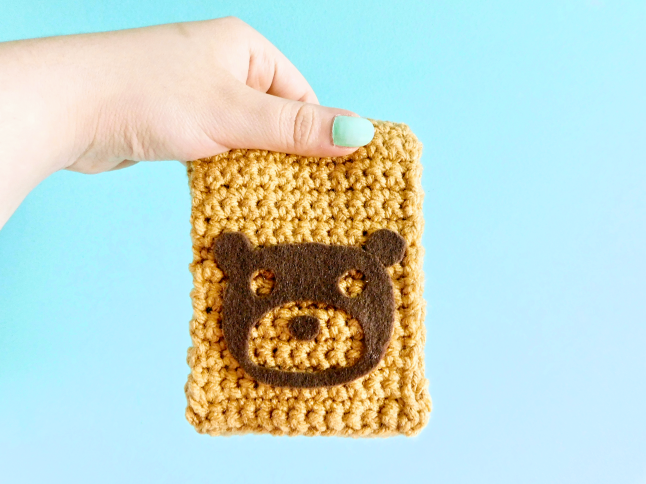
With H hook and tan yarn, insert your hook on the bottom part of the bag.
Row 1: blo, sc 12 sts. Total = 12 sts
Rows 2-25: ch 1, sc 12 sts. Total = 12 sts
Cut off and leave long ends for sewing
Sides (make 2)
With H hook and tan yarn
Row 1: ch 9, sc starting from 2nd st from hook, sc 8 sts. Total = 8 sts
Rows 2-25: ch 1, sc 8 sts. Total = 8 sts
Cut off and leave long ends for sewing
Assembly
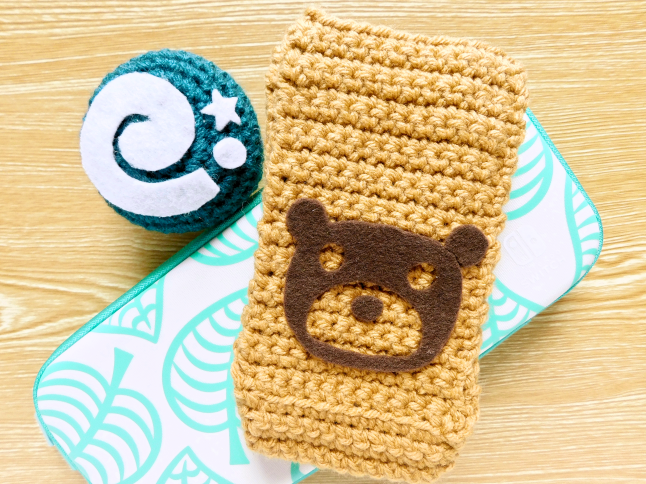
Sew the sides of the bag between the front, back, and bottom part of the bag. Weave in all the loose ends. To create that “paper bag effect” fold the sides of the bag.
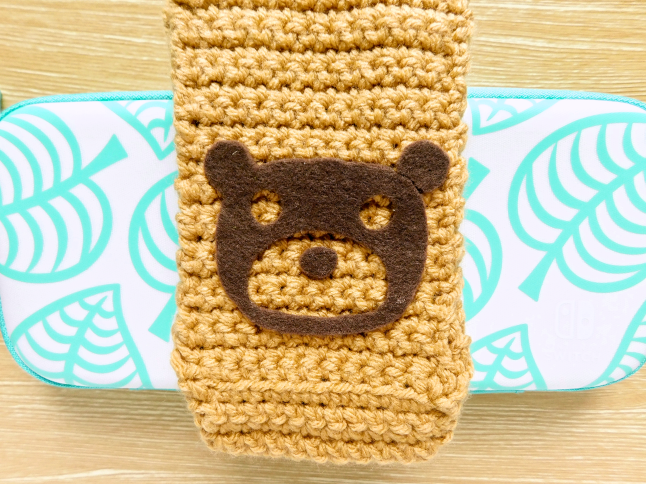
With brown felt and scissors cut out a raccoon-shaped piece. Glue with no-sew glue and press lightly to secure. Leave to dry.
Feel free to make the bag bigger if you want by adding stitches and rows. I made this bag by trying to imagine the size of the item bag as if I were an Animal Crossing character. If you want the bag to hold heavier things use a sturdy yarn.
Have you preordered Animal Crossing New Horizons yet?


Leave a Reply