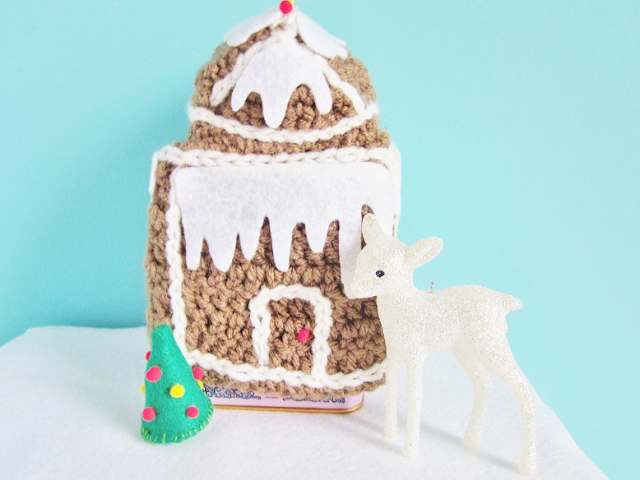
On the second day of 12 Days of DIY December I made this for you, a gingerbread house cozy! Not just any gingerbread cozy though. I made a gingerbread house cozy that you can use to store your favorite teas! I especially crocheted this cozy to fit my Harvey and Sons Tea tins but obviously, you can use this for anything as a gift box, candle cozy, stuff it completely and use it as a plush, etc.
A special thanks to my younger sister, Vanessa. Who helped me come up with this idea! I asked her what I should crochet and she said a gingerbread house. Then I look for something I could use as a gingerbread house base and saw the Harvey and Sons tea tin. The rest is history!
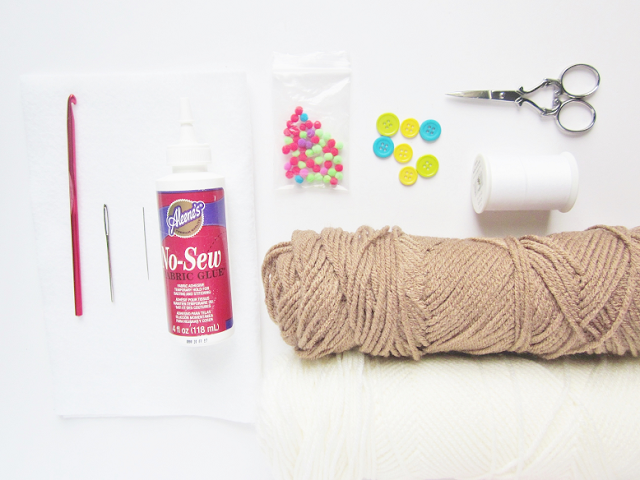
You will need:
– Brown yarn
– White yarn
– H/5.00 mm crochet hook
– Yarn needle
– Sewing needle
– No-Sew glue
– White Thread
– Scissors
– Polyfill stuffing
– White felt (Optional)
– Mini pom poms (optional)
– Colorful buttons (Optional)
Aberrations
Ch(s) – chain(es)
St(s) – stitch(es)
Slst – slip stitch
Dec – decrease
Slst – slip stitch
Dec – decrease
Sc – single crochet
Dc – double crochet
Sides of house (make 4)
– Ch 13
– Dc starting from the 2nd stitch from hook, Dc 12. Total = 12 sts
– Ch 1, turn, Dc 12 sts (x 8). Total = 12 sts
– Ch 1, turn, Sc 12 sts. Total = 12 sts
– Cut off, leave a long tail for sewing.
Roof (Bottom)
– Ch 13
– Sc starting from the 2nd stitch from hook, Sc 12. Total = 12 sts
– Ch 1, turn, Sc 12 sts (x 12). Total = 12 sts
– Cut off
Triangle part of Roof (make 2)
– Ch 13
– Sc starting from the 2nd stitch from hook, Dc 12. Total = 12 sts
– Dec 2, Sc 4 sts, Dec 2. Total = 8 sts
– Ch 1, turn, Dec, Sc 4 sts, Dec. Total 6 sts
– Ch 1, turn, Dec, Sc 2 sts, Dec. Total = 4 sts
– Ch 1, turn, Dec 2. Total = 2 sts
– Ch 1, turn, Dec last 2 sts.
– Cut off
Side of Roof (make 2)
– Ch 12
– Sc starting from the 2nd stitch from hook, Sc 11. Total = 11 sts
– Ch 1, turn, Sc 11 sts (x 8). Total = 11 sts
– Cut off
Assembly:
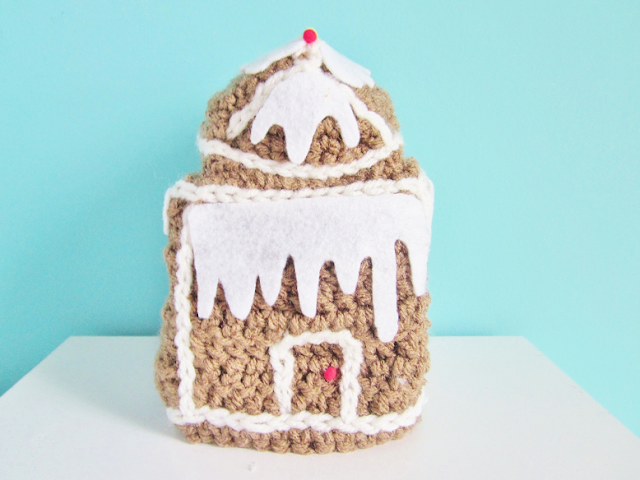
Time for the best part to sew everything together! Start by sewing the sides of the house together. Next, I used surface crochet to add the white icing details. If you don’t know of surface crochet I recommend looking up some videos on it. It’s a great crochet skill to learn. I surface crocheted all of the white icing parts on the cozy.
Next, sew the roof. I started by sewing all the sides to the bottom piece first. Then, I sewed the sides to each other. Before you sew the whole roof part together make sure you surface crochet (It will be difficult if you don’t at this point) and then stuff with polyfill stuffing. Don’t stuff too much! Also, don’t sew the roof to the cozy yet!
Decorations
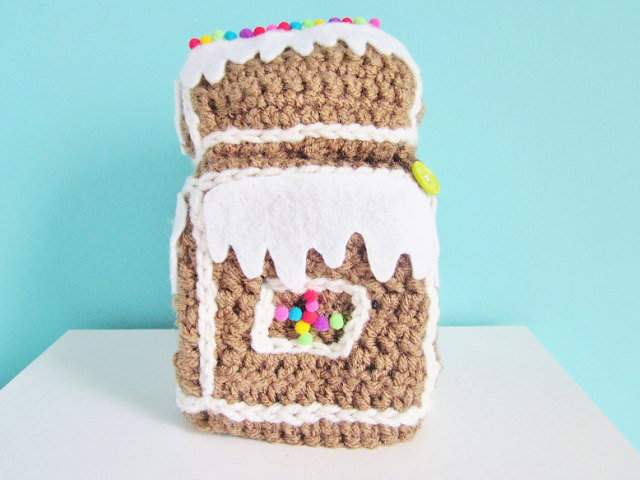
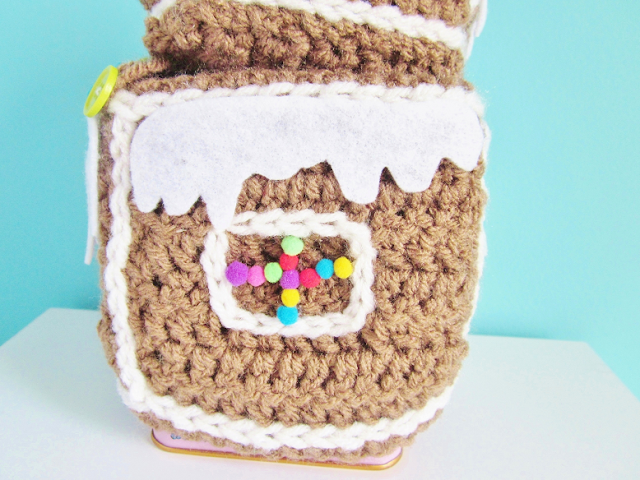
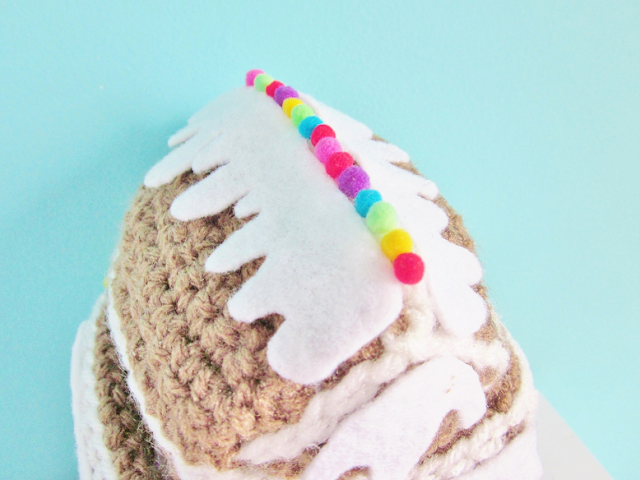
Time of the real fun part, decorating! I used surface crochet to add some windows and a door. I then cut out ‘icing’ using white felt. I used no-sew glue to stick the felt pieces onto the house. I loved how the icing snow came out so I put it pretty much everywhere! Lastly, I used mini colorful pom poms as gumdrops and glued them inside the window, door and on the roof.
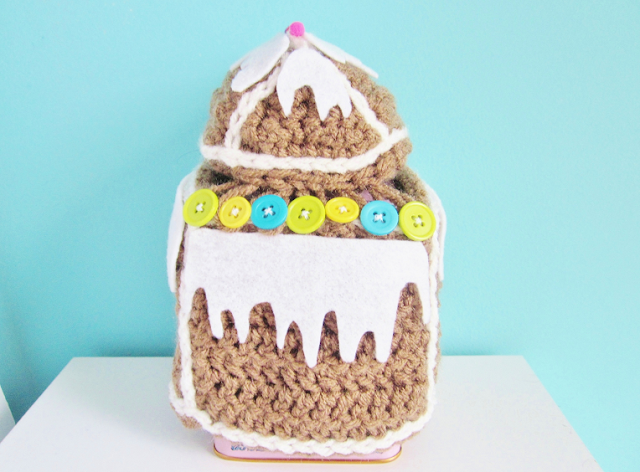
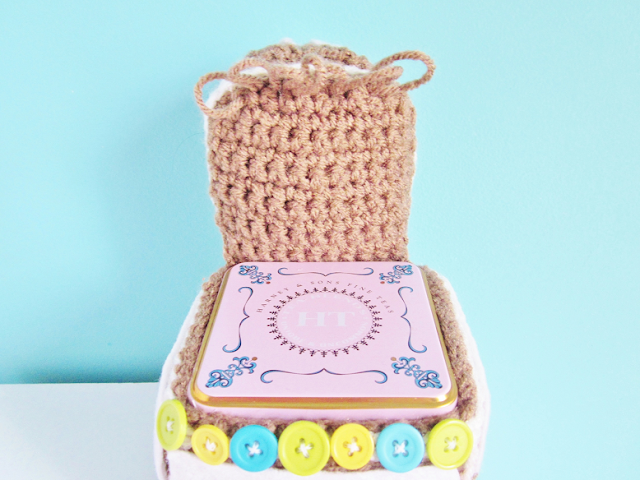
At this point, you can choose to either sew the roof to the house all around or you can do what I did and make an opening for easy access to tea. To do this you will need some buttons (I used colorful buttons so they could look like candy), some thread and a sewing needle.
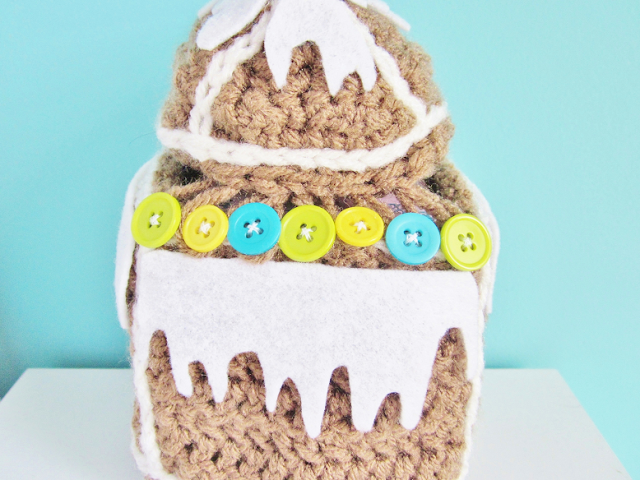
First, sew the buttons to the cozy with the needle and thread. To create the loops I used a loop stitch. Again, you can google to see instructions on how to crochet a loop stitch. Since I used seven buttons I made seven loops.
Here is a close up at what the buttons look like when closed.
This is what the roof looks like when it’s open. You can easily open up and get your favorite tea bags out. Perfect for tea time!
Are you a tea lover?






Leave a Reply