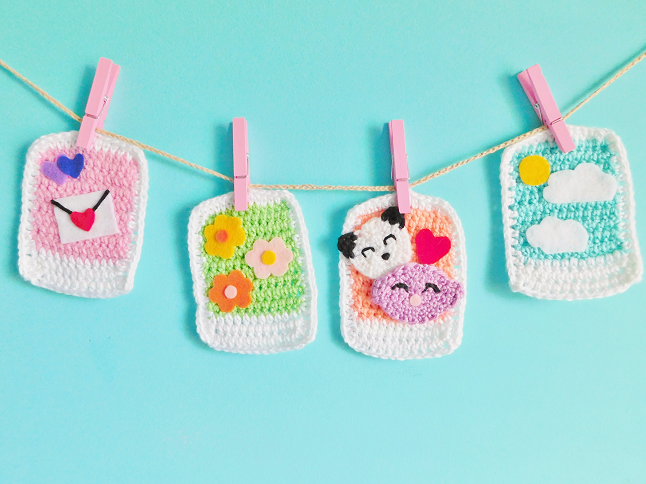
Happy Valentine’s Day! My treat to you is a new crochet pattern! Today I will be showing how to create a Polaroid garland. This pattern is really simple and only requires a couple of minutes to prepare. I would’ve loved to post this pattern before Valentine’s Day but I lost track of time! Hopefully, you enjoy the pattern anyways. It will make a cute decorative piece!
You will need
– G/4.25 mm size crochet hook
– White worsted yarn
– Colored worsted yarn
– Twine or beige colored yarn
– White worsted yarn
– Colored worsted yarn
– Twine or beige colored yarn
– Clothespins (optional)
– Yarn needle
– Colored felt
– Glue
– Scissors
– Yarn needle
– Colored felt
– Glue
– Scissors
Aberrations
Ch(s) – chain(es)
St(s) – stitch(es)
Slst – slip stitch
Dec – decrease
Cc – color change
Slst – slip stitch
Dec – decrease
Cc – color change
Hdc – half double crochet
Polaroid
Start with whatever color your wish (minus white yarn)
– Ch 13 sts, hdc starting with the 2nd ch from hook. Hdc 12 sts. Total = 12 sts
– Ch 1, turn, 12 hdc sts. Total = 12 sts (repeat 8x more times)
– Cc to white yarn
– Ch 1, turn, 12 hdc sts. Total = 12 sts (repeat 3x times)
Cut off
With white yarn insert hook to the bottom side of your crochet piece and slst. Hdc 15 sts on each side and 10 sts on the top (where you first started).On the corners of the top part hdc 2 sts on each corner. When you reach the end cut off and leave a string long enough to weave in ends.
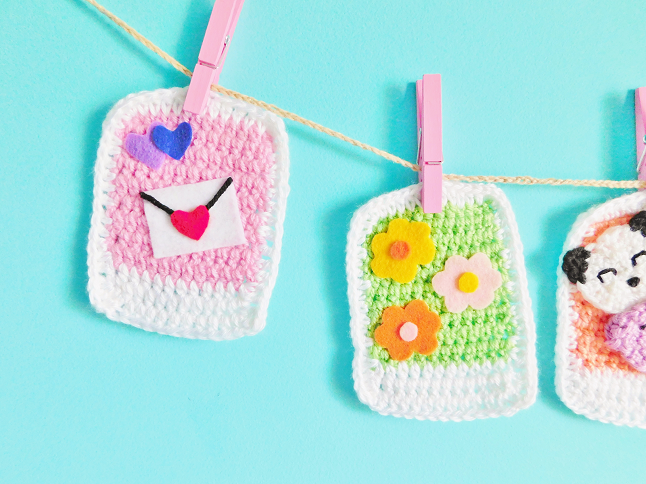
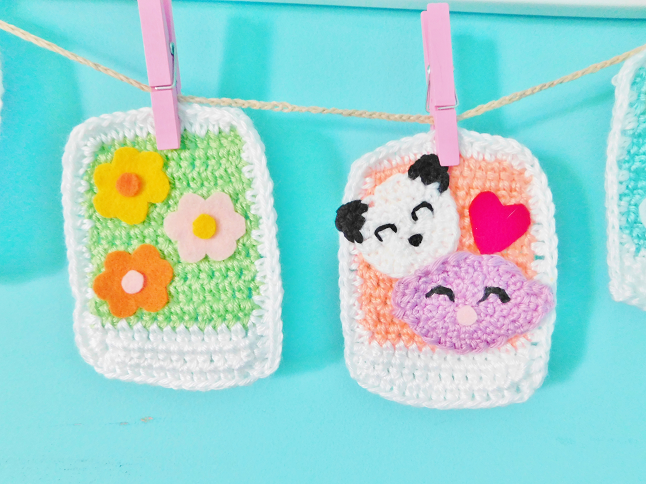
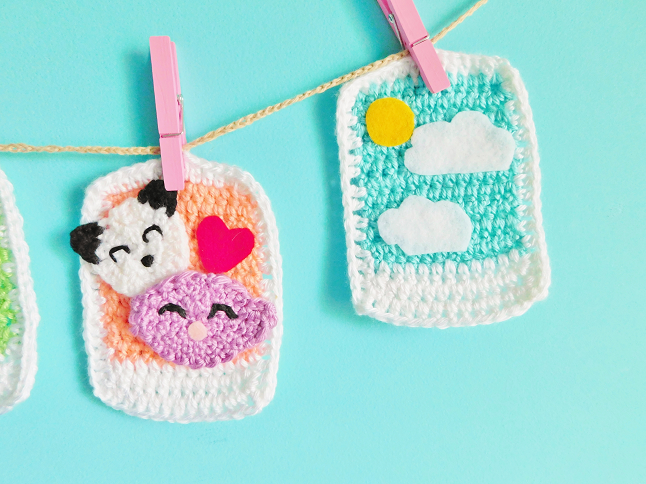
Make as many Polaroids as you want, I made four for my garland. Next is time to decorate! You can customize your Polaroids however you choose. With scissors, I cut out various different shapes and glued them to the Polaroids. On one of the Polaroids, I used some crochet animal pieces that I had leftover from the previous crochet project. Once you have all your Polaroids decorated it’s time to put the garland together!
With twine or beige colored yarn ch 10 sts. Slst to 1 st to form a loop. Ch 25 sts, slst to the middle st of one of the Polaroid pieces (repeat until all of your Polaroids are attached). When you are on your last Polaroid piece Ch 35 sts. Slst to the tenth st from hook and cut off. Weave in ends. You have completed your Polaroid garland.
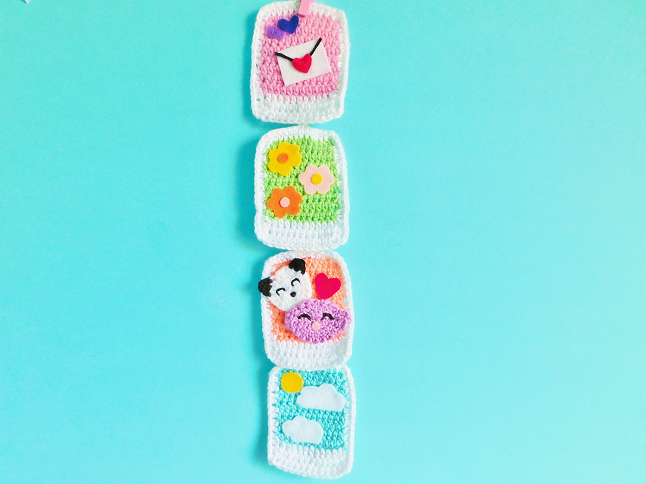
You could hang your garland the traditional way, horizontal. Or you can hang it vertically like I did here. Fun fact, when I was taking pictures one of the sides fell but I actually love how it looked so I decided to keep my Polaroid garland like this, lol. Attach some clothespins for a cute touch.
Related Posts
Chocolate Strawberry Dog Toy ♥ Crochet Pattern
5 Ingredient Banana Pancakes ♥ Vegan Recipe
Message In A Bottle Necklace ♥ DIY
Heart Coffee Mug Cozy ♥ Crochet Pattern
5 Ingredient Banana Pancakes ♥ Vegan Recipe
Message In A Bottle Necklace ♥ DIY
Heart Coffee Mug Cozy ♥ Crochet Pattern




What an adorable and unique idea!
What an adorable and unique idea!
Thank you! ♥
Thank you! ♥
Michelle this is a ridiculously cute idea! So adorable!
emma.
Not Copper Armour // Bloglovin'
Michelle this is a ridiculously cute idea! So adorable!
emma.
Not Copper Armour // Bloglovin'
Thanks! ♥
Thanks! ♥