On the seventh day of Christmas, I made this for you, a decoden phone case! Earlier this year I made a DIY on how to make a kawaii cushion case, I really loved that DIY so I thought I would go more in-depth and make another decoden case but this time for my phone. I see these types of cases all over Esty but they are so expensive! So I did the math and my case was for like less than $15 and it’s just as cute as all those other decoden cases online. If you have a friend or family member who loves kawaii stuff like this then I recommend you guys to make one for them!
You will need
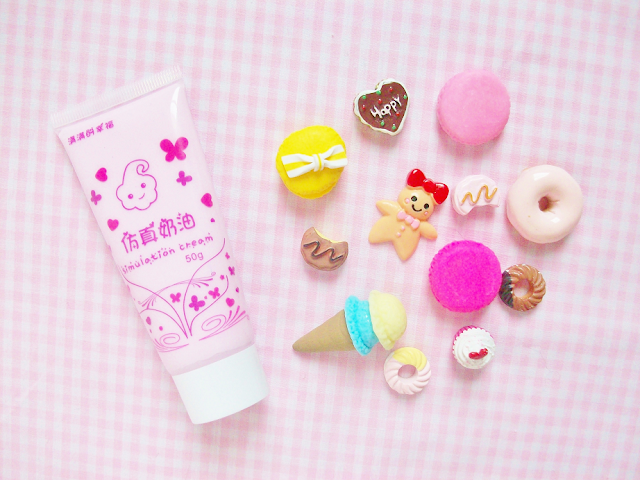
– Colored whipped cream (I bought mine from this shop)
– A bunch of cabochons
– A clear phone case that fits your phone
– Puffy stickers (optional)
– Glue (optional)
– Colored whipped cream (I bought mine from this shop)
– A bunch of cabochons
– A clear phone case that fits your phone
– Puffy stickers (optional)
– Glue (optional)
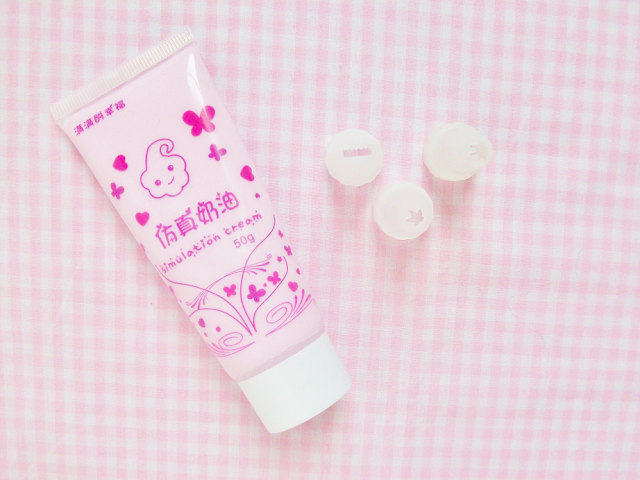
What I like about the whipped cream that I bought is that it comes in so many colors and 2 decorating tips! One tube is the perfect amount for one case. I highly recommend these whipped creams!
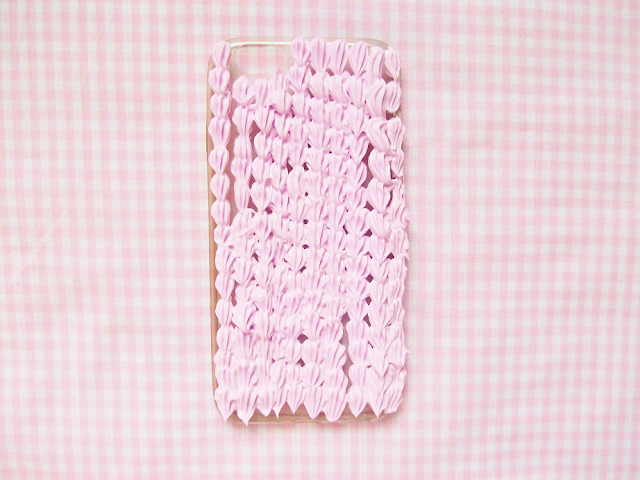
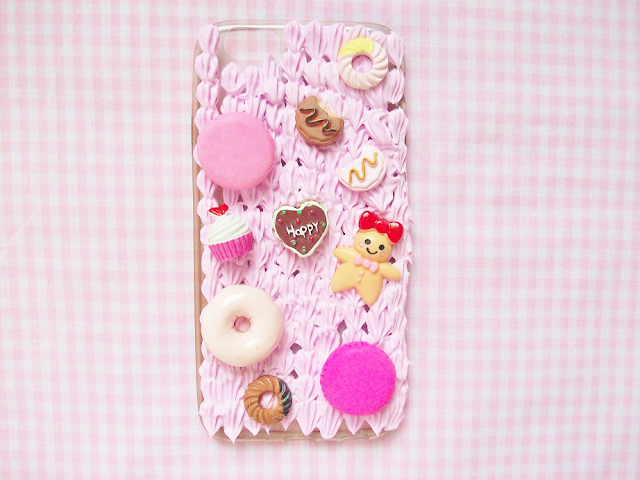
Step one is to set up a plan for your phone case! This makes it less stressful so when it comes to actually decorate your case you are already! Step two, pipe out your “icing” on your phone case. You can choose whatever design you want I used a cake icing scallop design for my case but you can easily just spread the icing all over the case with a spatula, it’s up to you!
Step four, place your cabochons over the icing. The icing serves as a glue but if you want to insure that your cabochons stay in place you can use a real glue.
I didn’t have that many cabochons so I used puffy stickers to add some more decorations to my case. Plus, I have a lot of puffy stickers so I might as well use them for something.
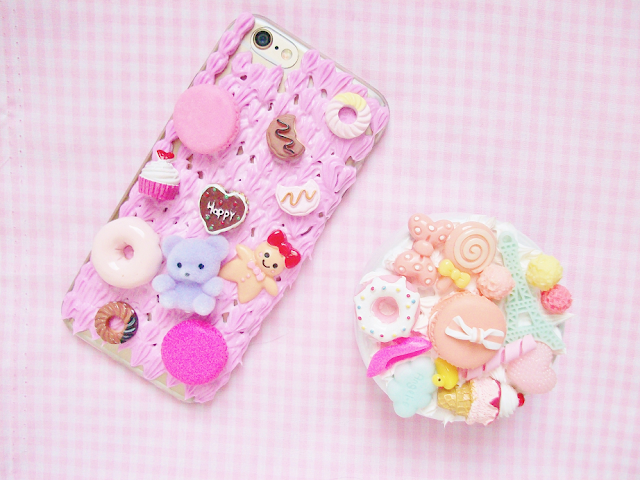
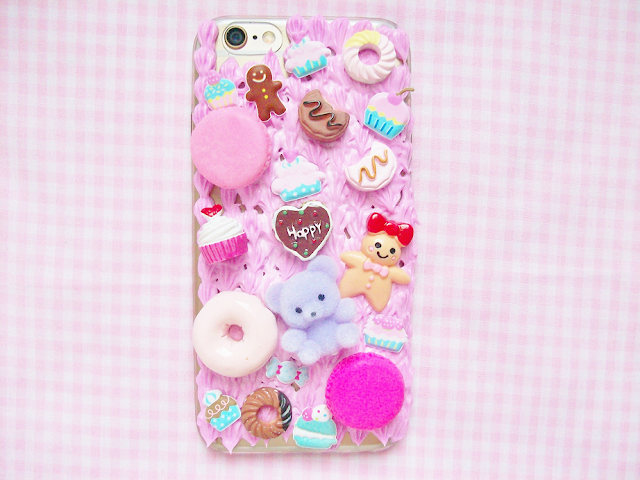
Here is what my finished case looked like. I absolutely adore it! I also included that teddy bear that I had laying around from last year’s DIY project. I think it looks so cute!
Are you a fan of decoden?







Leave a Reply