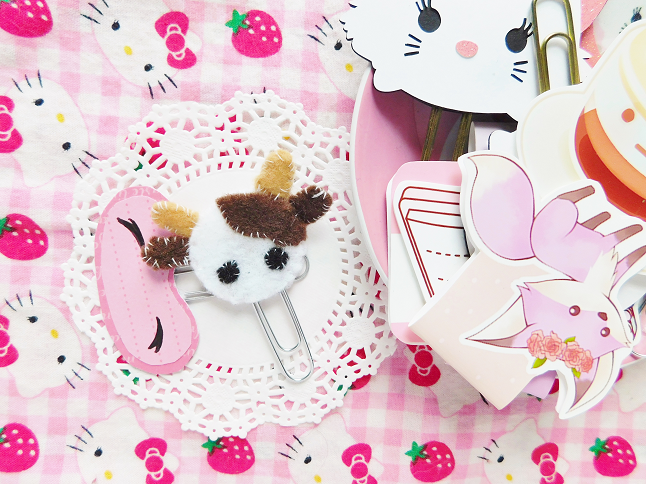
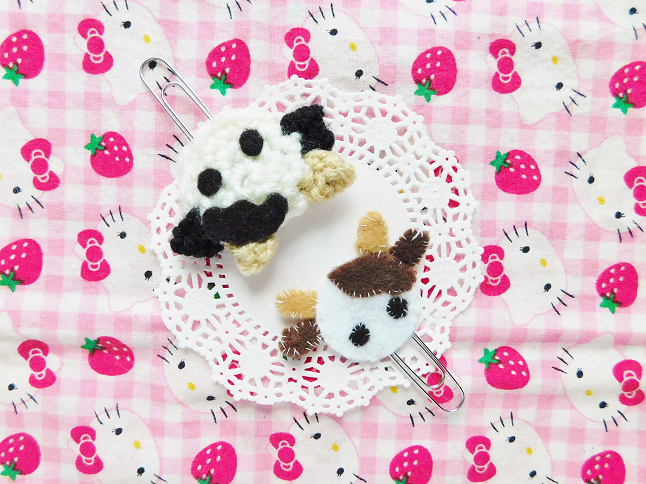
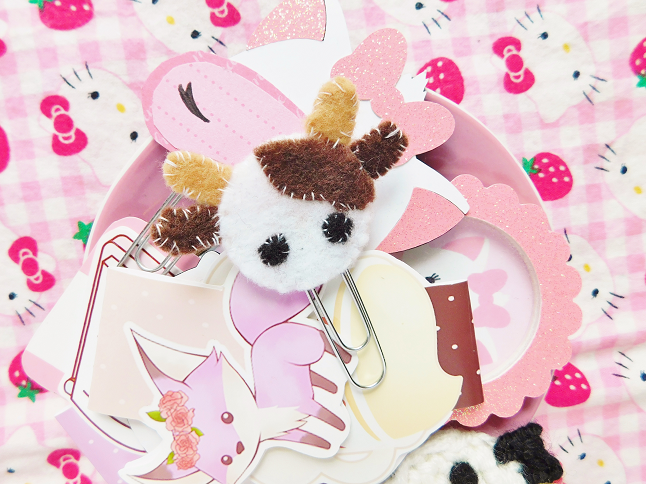
On the tenth day of 12 Days of DIY, I made for you, a felt planner clip! A few years ago I made a planner clip made out of cardstock paper but today I’m going to show you how to make one out of felt. These would make the perfect homemade gift to the planner in your life.
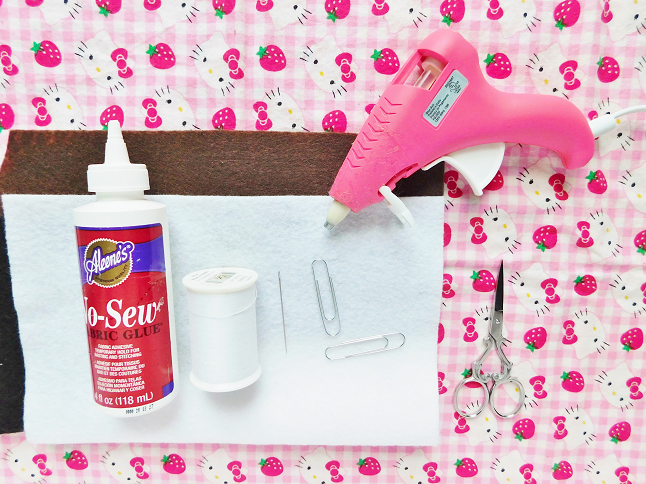
Supplies:
– White felt
– Brown felt
– Black felt
– Tan felt
– Sewing needle
– Thread
– Scissors
– Large paper clips
– Glue
– Hot glue
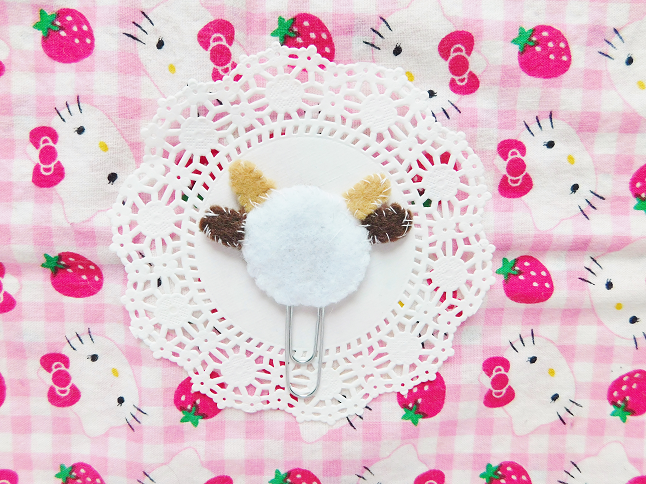
The first step is to figure out what you want to make. Drawing it out helps. I choose a cow for obvious reasons. Next is to cut out the shapes using felt, you are going to cut out a piece for each side.
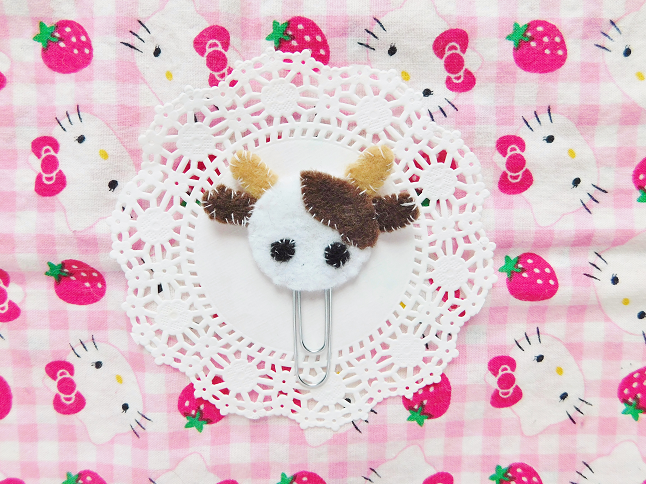
Now it’s time to sew! You don’t have to sew if you don’t want to (you can glue everything) but if you want your planner clip to last I would recommend sewing. Anyways, sew everything together leaving the bottom part open. As you can see I’m not the best sewer but I think the uneven stitches add personality.
After you have sewn everything together carefully add a dollop of hot glue to the center of the felt piece and quickly place the paper clip in the center before the glue cools. Lastly, sew the opening closed and you are finished!
This was actually supposed to be a crocheted planner clip but I thought that the crocheted version looked too bulky so I decided to make a felt version instead. Maybe I will still post the crochet pattern one day.
Related Posts





Leave a Reply